


Steph's Blend Tutorial: Traditional Blend
May 29, 2008 19:57:16 GMT
Post by Administrator on May 29, 2008 19:57:16 GMT
Originally posted by Steph.
Blend style 2
This is the more traditional style of blending and I have absolutely no idea how to do this in PSP! Everything I'll be using in this tutorial I only know how to do in PS. If you know how to use filters and layer masks in PSP I'm sure you can follow this, but I can't tell you how, I don't have any version of psp on my computer at the moment. This tutorial does make the assumption that you know your way around PS pretty well, I'm not good at writing beginner's tutorials.
I'll be using more Harry Potter photos this time from the Prisoner of Azkaban.

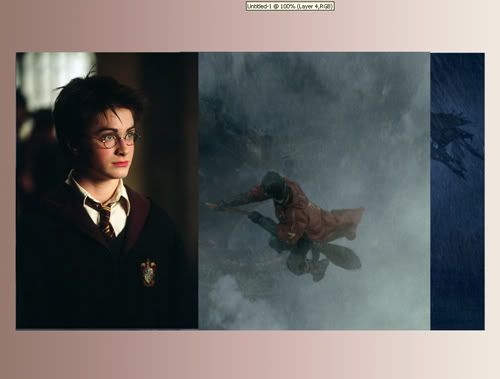
I'm starting out with a pinky colored gradient 1024x768 canvas. I paste all three of my images and line them up how I want them pretty much, making sure they overlap so I can blend them together.
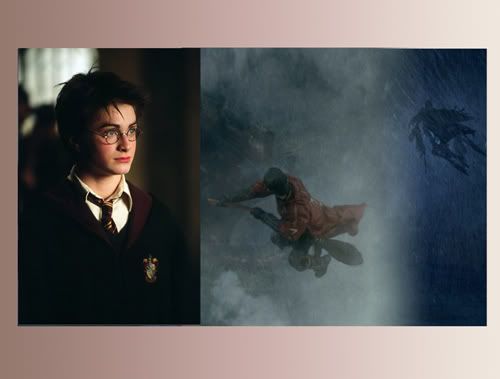
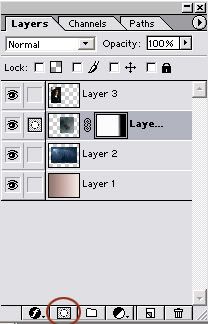
I go to layer 4 my middle layer and apply a layer mask then using a black and white gradient, I make a small line stopping just short of the edge of the picture so there isn't a line.
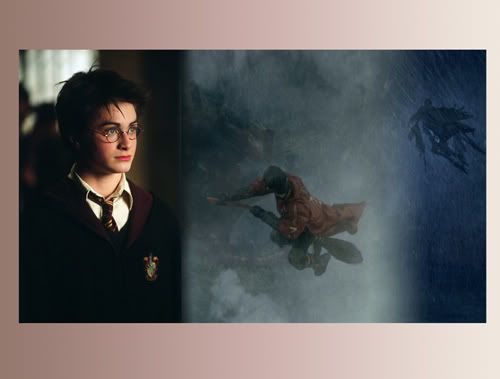
Now you see why the overlap was important. I repeat this on layer three. (And you can see where I don't have quite enough overlap. >_<' Oh well, I'm not a professional and can readjust in the end.
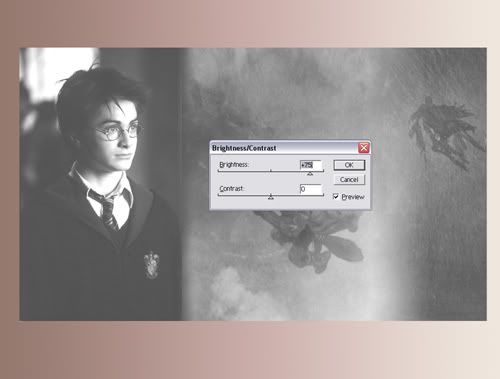
Then I merge all my layers together and desaturate them. I also change the brightness to make it a little more vivid.
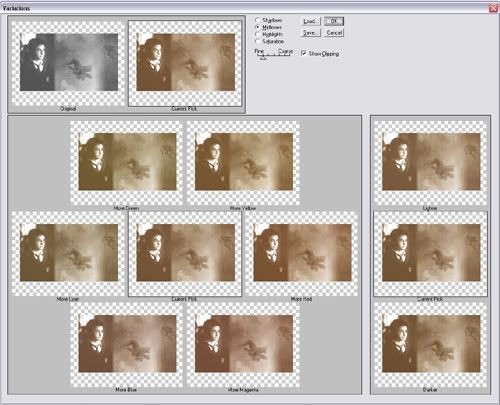
Because PS6 requires saturation to use the hue/saturation/lightness tool, I use the variations filter and pick a nice sepia toned color, I think I did one medium red, one medium yellow, a little blue and a little more red and yellow, but play with it, it's not a precise science.
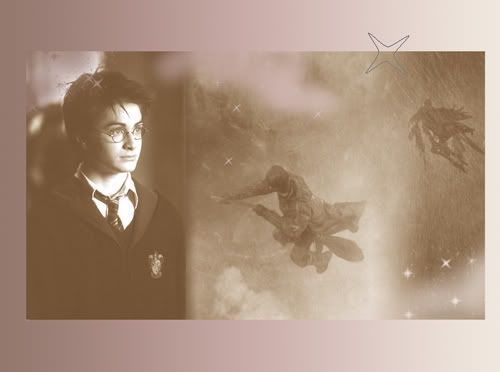
Now I pick up my eraser and the same star brushes I used in blend one. I erase a bit using the star brushes like a stamp so the gradient shows through.
I add a few stars across in a crème color using wide spacing again on the brush.
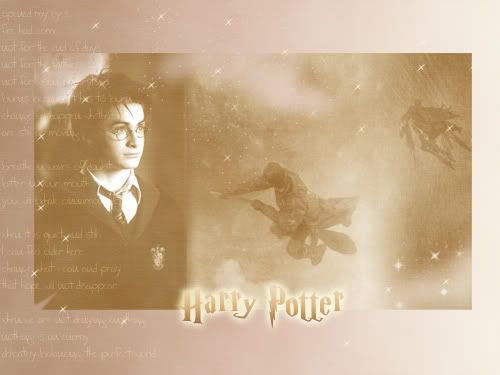
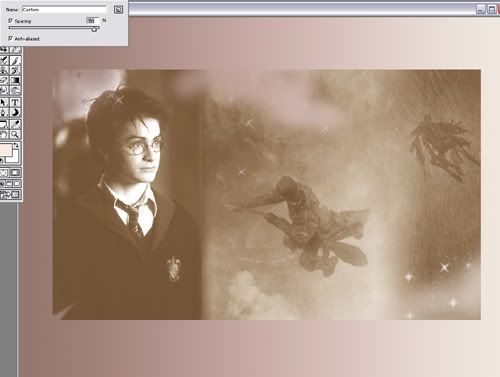
In the end I thought it was a little bland, so I used two crème colors and the render clouds filter on a new layer. And some texture creating a parchmenty look and set the layer blending option at soft light I also added some text again. And I'm done!
Lyrics from Toad the Wet Sprocket “Little Heaven”
Blend style 2
This is the more traditional style of blending and I have absolutely no idea how to do this in PSP! Everything I'll be using in this tutorial I only know how to do in PS. If you know how to use filters and layer masks in PSP I'm sure you can follow this, but I can't tell you how, I don't have any version of psp on my computer at the moment. This tutorial does make the assumption that you know your way around PS pretty well, I'm not good at writing beginner's tutorials.
I'll be using more Harry Potter photos this time from the Prisoner of Azkaban.
I'm starting out with a pinky colored gradient 1024x768 canvas. I paste all three of my images and line them up how I want them pretty much, making sure they overlap so I can blend them together.
I go to layer 4 my middle layer and apply a layer mask then using a black and white gradient, I make a small line stopping just short of the edge of the picture so there isn't a line.
Now you see why the overlap was important. I repeat this on layer three. (And you can see where I don't have quite enough overlap. >_<' Oh well, I'm not a professional and can readjust in the end.
Then I merge all my layers together and desaturate them. I also change the brightness to make it a little more vivid.
Because PS6 requires saturation to use the hue/saturation/lightness tool, I use the variations filter and pick a nice sepia toned color, I think I did one medium red, one medium yellow, a little blue and a little more red and yellow, but play with it, it's not a precise science.
Now I pick up my eraser and the same star brushes I used in blend one. I erase a bit using the star brushes like a stamp so the gradient shows through.
I add a few stars across in a crème color using wide spacing again on the brush.
In the end I thought it was a little bland, so I used two crème colors and the render clouds filter on a new layer. And some texture creating a parchmenty look and set the layer blending option at soft light I also added some text again. And I'm done!
Lyrics from Toad the Wet Sprocket “Little Heaven”